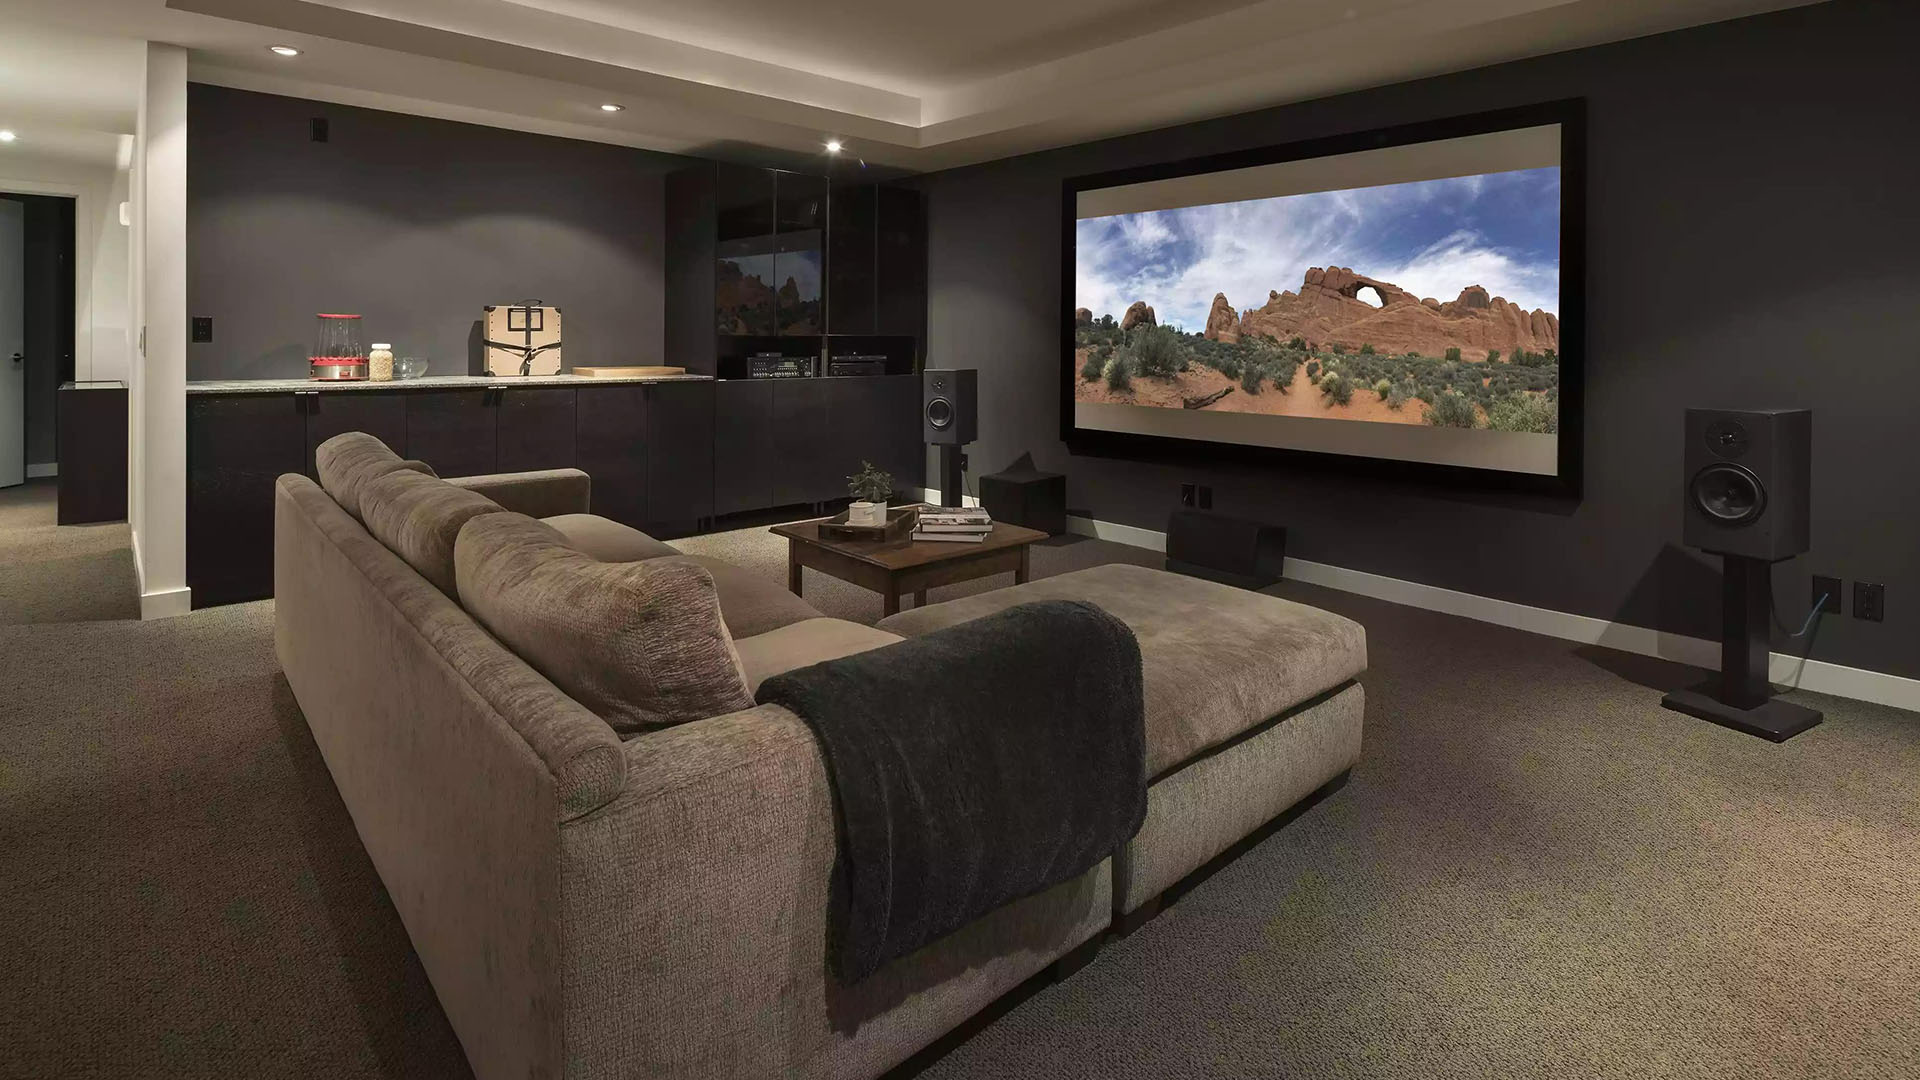
How to install the fixed frame screen?
Thank you for purchasing this Fixed Frame Projection Screen. It features our high gain screen material and split fixed frame design style. Please take a moment to read this installation manual in full before attempting to assemble the screen to avoid any potential issues..
Assembliling The Frame
1. Unpack the product and confirm that all parts are included.
2. If possible, have 2 people available to assemble and install the screen.
3. Insert the Tensioners into the frames according to the images below. Use the exact numbers which match the stickers on each frame.
4.Install the two Joint Bars into the Frames which connects the two halves of the top and bottom frames.
5. Push the plastic L Joint into the ends of the Frames.
6.Connect all four frames together.
7. Lay out the Screen Fabric and Tension Rods on a large, open, clean surface. Insert the Tension Rods through the sleeves according to their corresponding lengths on each edge of the screen.
8.Place the assembled aluminium frame felt side down, so the rear of the frame is facing up. Place the Screen Fabric white side facing down on top of the aluminium frame. Fix the Screen Fabric to the frame by popping it over the previously installed tensioners.
9.Use the metal L Brackets to cover the corners of the screen, and screw into place using the L Joint Screws included.
10.Install the Support Bar which runs vertically down the centre of the rear of the screen.
11.Your Projector Screen assembly is now complete.
Note: After assembly, please check the smoothness of the screen. If there are any ripples, please adjust the location of the corresponding tensioners at the back until the screen surface appears flat and smooth.
Installation on Drywall
1. Locate your desired installation location with a stud finder. Mark the drill-hole area where the screen is to be installed.
2. Drill a hole with the proper drill-bit size according to the drywall anchor included.
3. Line up the wall bracket with the drilled holes on your wall, and screw (drywall screw) them in using a screwdriver.
4. Position the fixed frame screen onto the wall brackets.
NOTE:
Please follow these instructions carefully to ensure your projector screen is installed correctly and safely.
1. When hanging the screen, please make sure that no other objects, eg: power switches, outlets, furniture, windows, etc. occupy the space designated for your fixed frame projector screen.
2. When cleaning, we recommend using a soft cloth and warm water to remove any marks on the frame or screen surface.
